Creating an Issue Picker Field
Once the add-on is installed, you can create your first Jira Issue Picker custom field. This field can be added to any project and screen in your Jira instance.
Steps to Create the Field
-
Navigate to Jira Administration > Issues.
-
Under the Fields section in the left sidebar, click Custom fields.
-
Click the Add custom field button in the top-right corner.
-
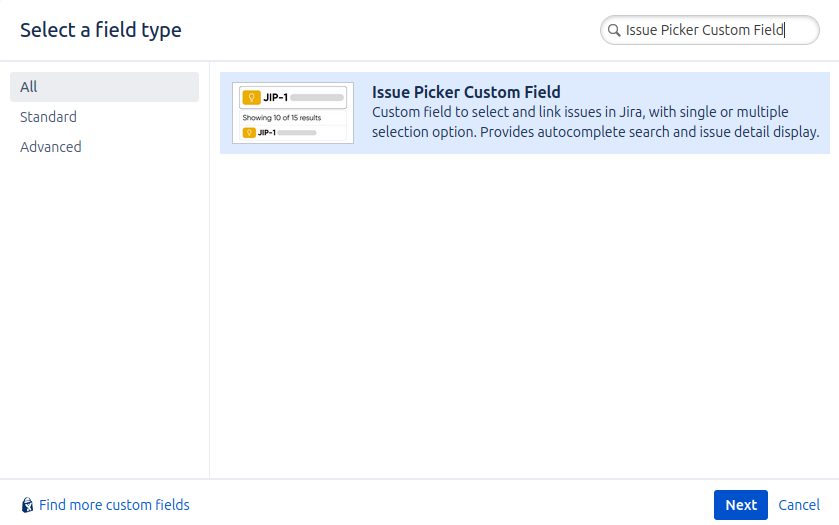
A dialog box will appear. On the "Select a Field Type" screen, find and select Jira Issue Picker Custom Field. Click Next.
💡 You'll recognize it by its description: "A custom field to intuitively select and link issues."
-
Name and Description:
- Enter a Name for your field (e.g., "Related Tickets", "Blocked By", "Caused By"). This is the name users will see.
- Add an optional Description. This text appears below the field to guide users.
-
Click Create.
-
Associate to Screens: After creating the field, Jira will ask you to associate it with screens. Select the screens where you want this field to appear (e.g., the Default Screen, Create Issue Screen, Edit Issue Screen for a specific project).
-
Click Update.
Your new Jira Issue Picker field is now created! By default, it is a global field. You can now go to the main administration panel to configure its specific behavior.