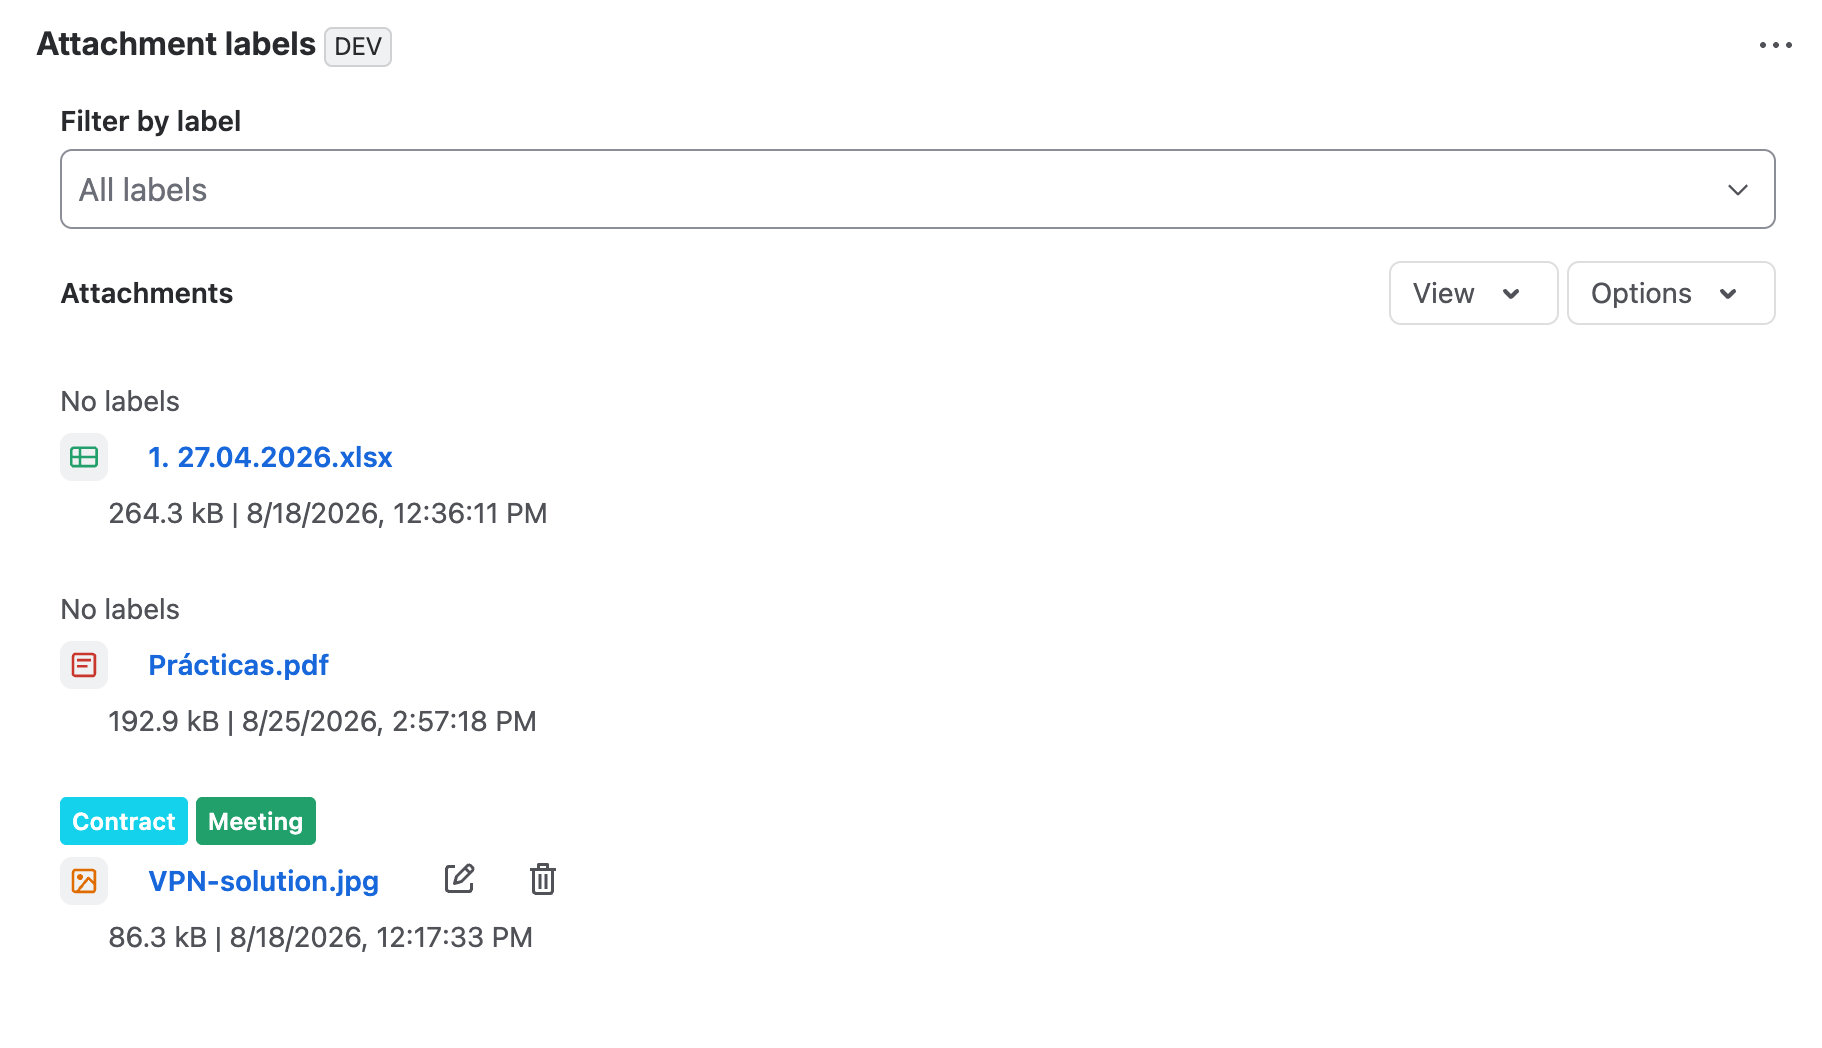
Attachment Labels panel
The Attachment Labels panel lives inside the work item and lets you manage files without leaving the ticket.
Open the panel from the ticket
- Open the work item that contains the attachments.
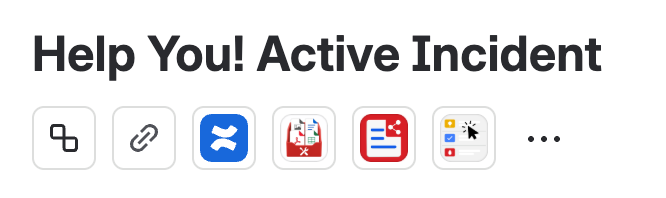
- Under the ticket summary, locate the FileUtils Pro icon.
- Select the icon to open the Attachment Labels panel.
View and filter attachments
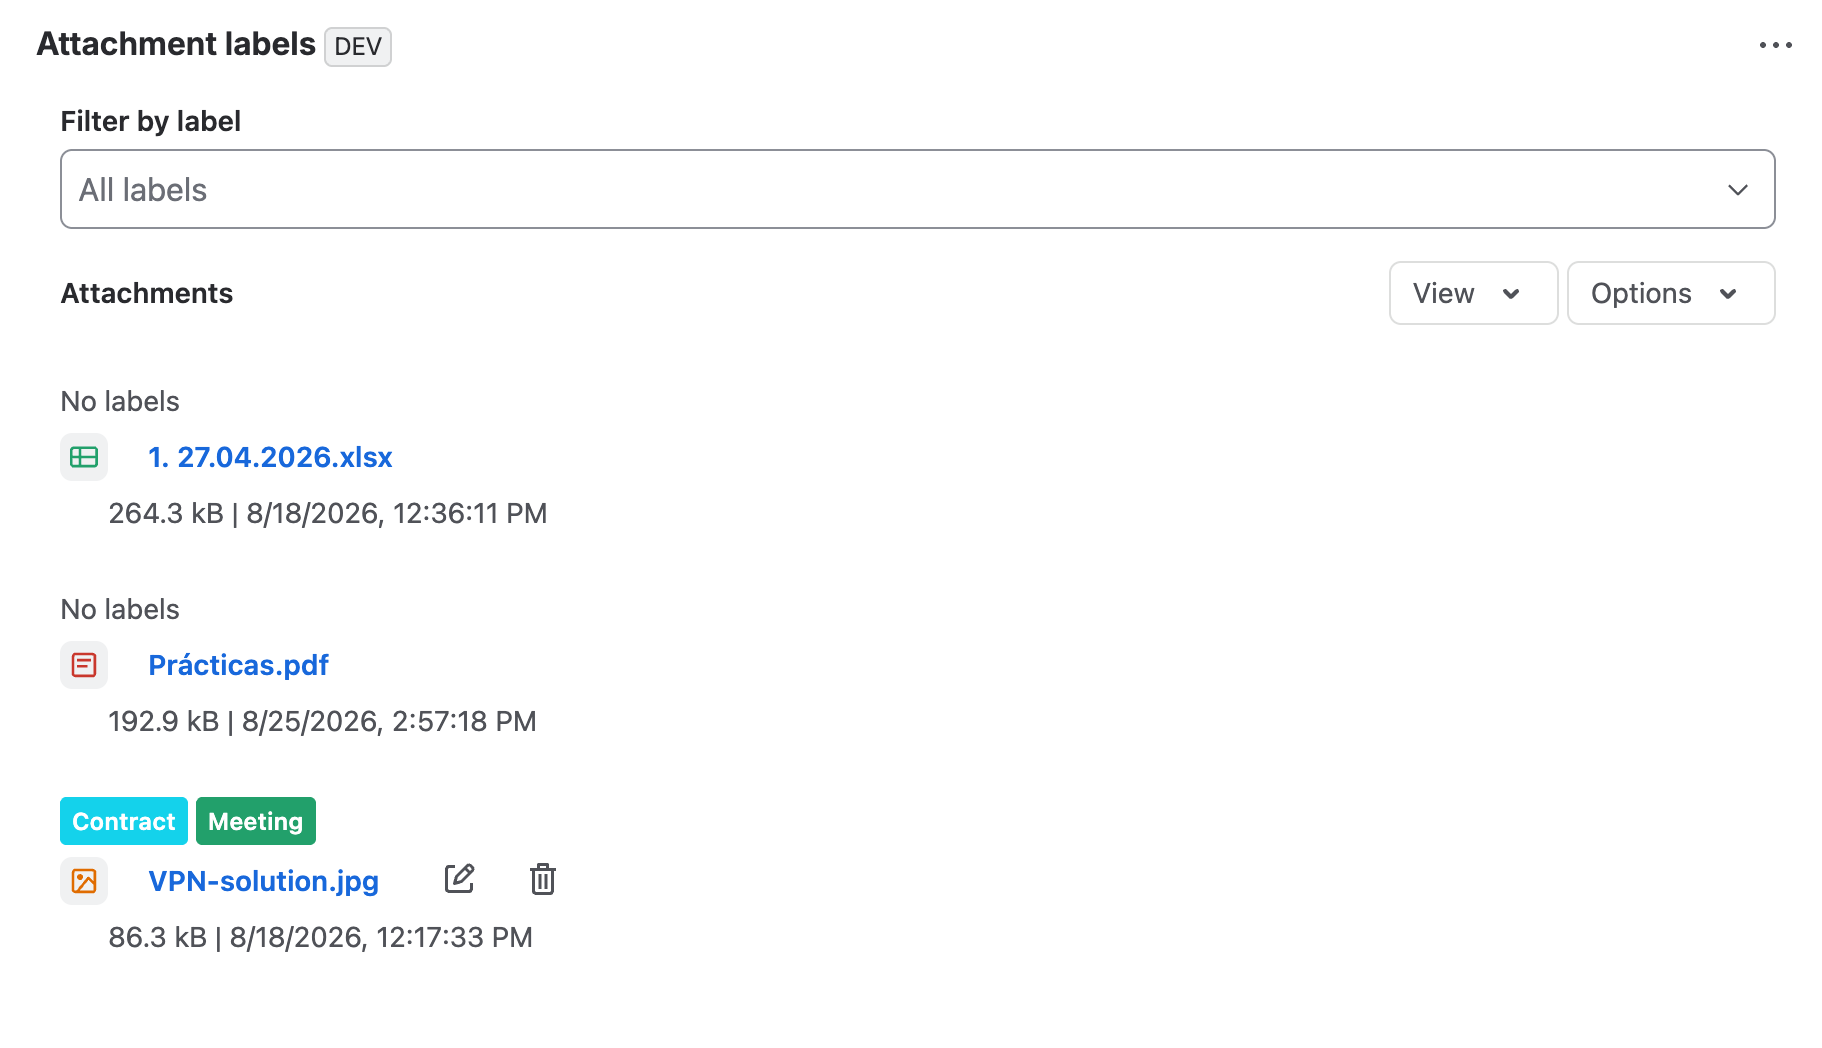
If the panel is collapsed, select it to show the ticket's attachment list. You can filter the results by selecting a specific label to quickly find associated files.
Choose a view
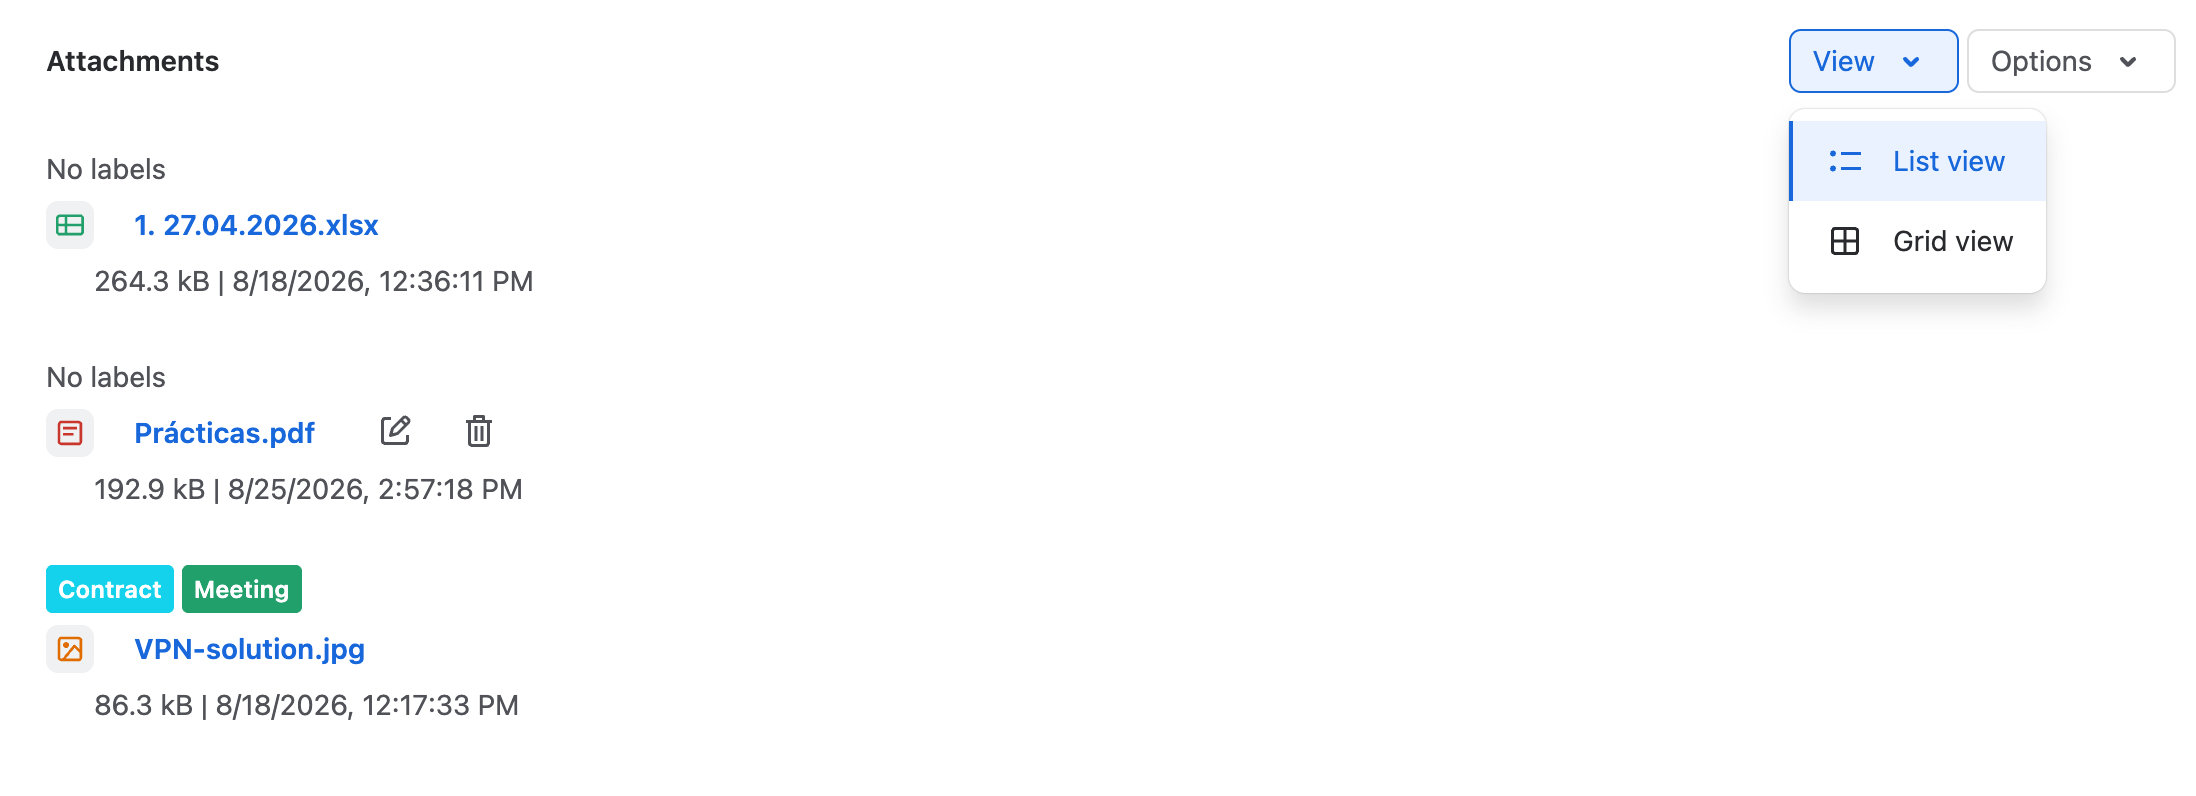
You can switch between:
- List, to review names, labels, and details for several files in a compact layout.
- Gallery, to identify files through thumbnails when a preview is available.
In both views, you can filter by label and manage files from the panel. Use the View menu to switch from list to gallery.
Group attachments
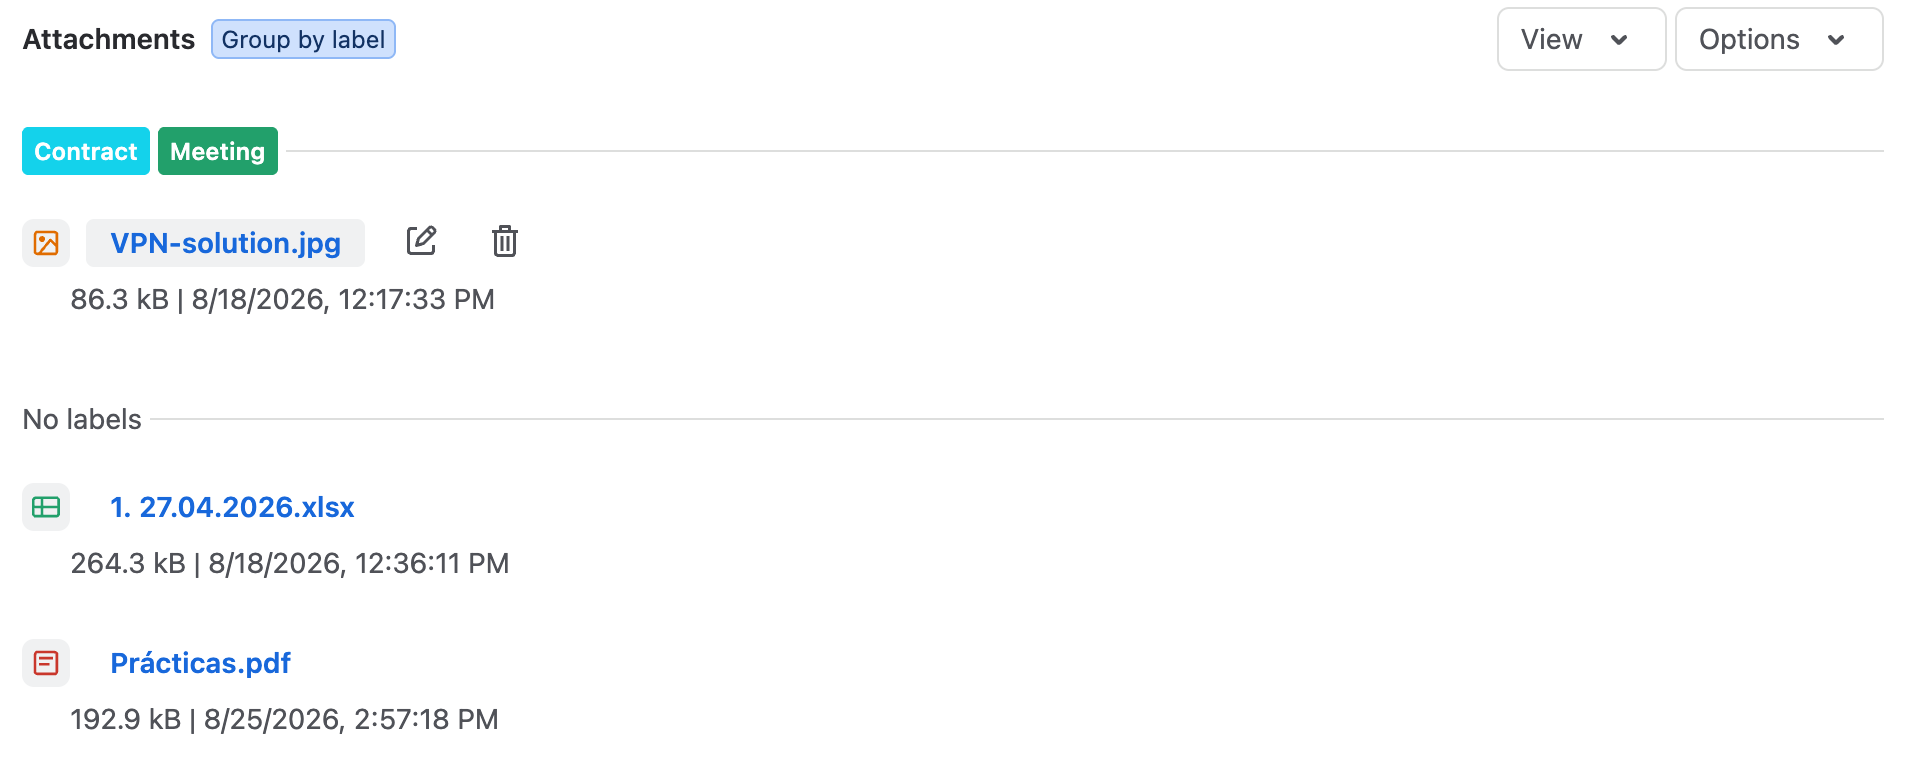
In addition to switching between list and gallery, you can group attachments. Currently, the only available option is Group by labels.
Grouping organizes files according to their assigned labels, making it easier to review related documents.
Edit labels from the panel
Next to each attachment name, you will find two actions:
- Edit, to manage the file's labels.
- Delete, to remove the attachment from the ticket.
When you select Edit, a label selector opens. From there you can:
- Remove existing labels.
- Add labels that already exist in the space.
- Type the name of a new label and create it if it does not exist yet.
Changes are applied to the attachment from the panel, without leaving the ticket.