How to rename attachments
The Rename attachments action lets you update the base name of one or more attachments from the ticket options, without downloading or manually uploading the files again.
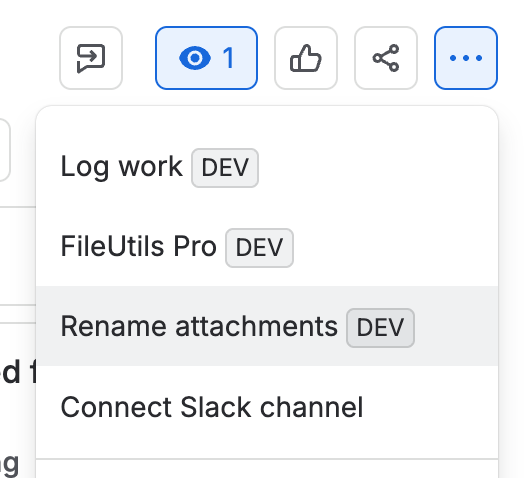
Open Rename attachments
- Open the ticket or work item.
- Open the ticket options menu.
- Select Rename attachments.
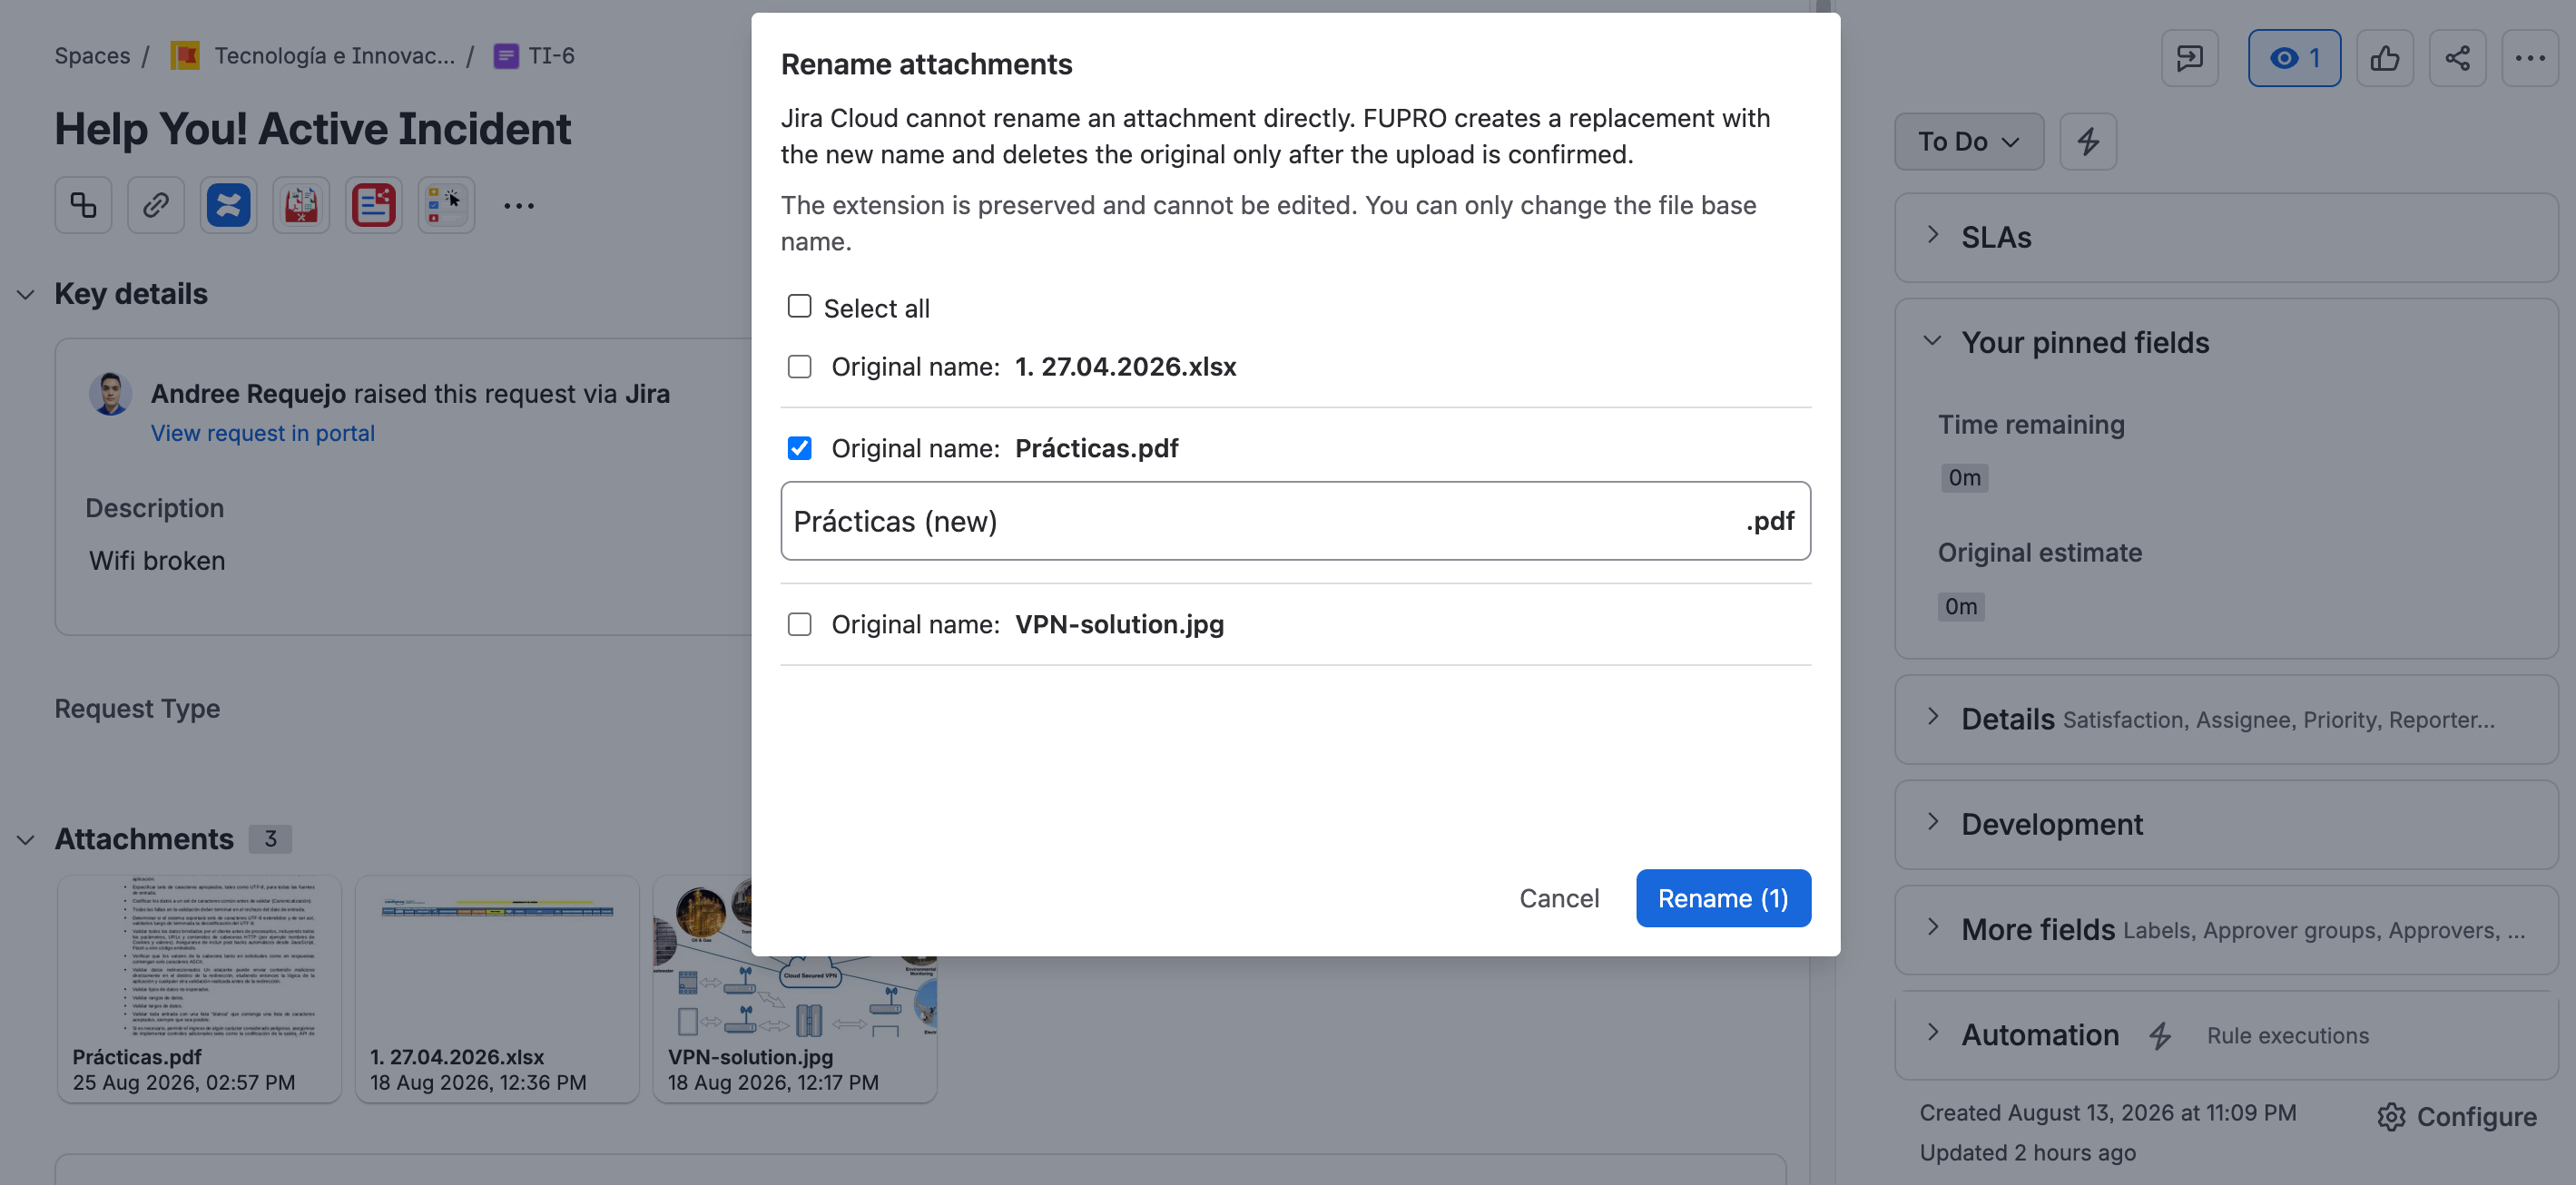
The screen displays all ticket attachments as selectable options.
Select attachments and edit names
- Select the checkbox for the attachment you want to update.
- When selected, a text field expands so you can edit its base name.
- Enter the new name and confirm the change.
You can also select Select all. This expands an editing field for each selected attachment, so you can review and update the names individually before confirming.
The file extension is preserved. FileUtils Pro validates that the name is not empty, does not exceed the allowed length, and does not contain invalid characters.
If you select all attachments but modify only one, FileUtils Pro verifies that each file has a genuinely new value before processing it. Attachments whose name did not change are not replaced. This avoids unnecessary operations and reduces the risk of breaking existing references.
What happens during renaming
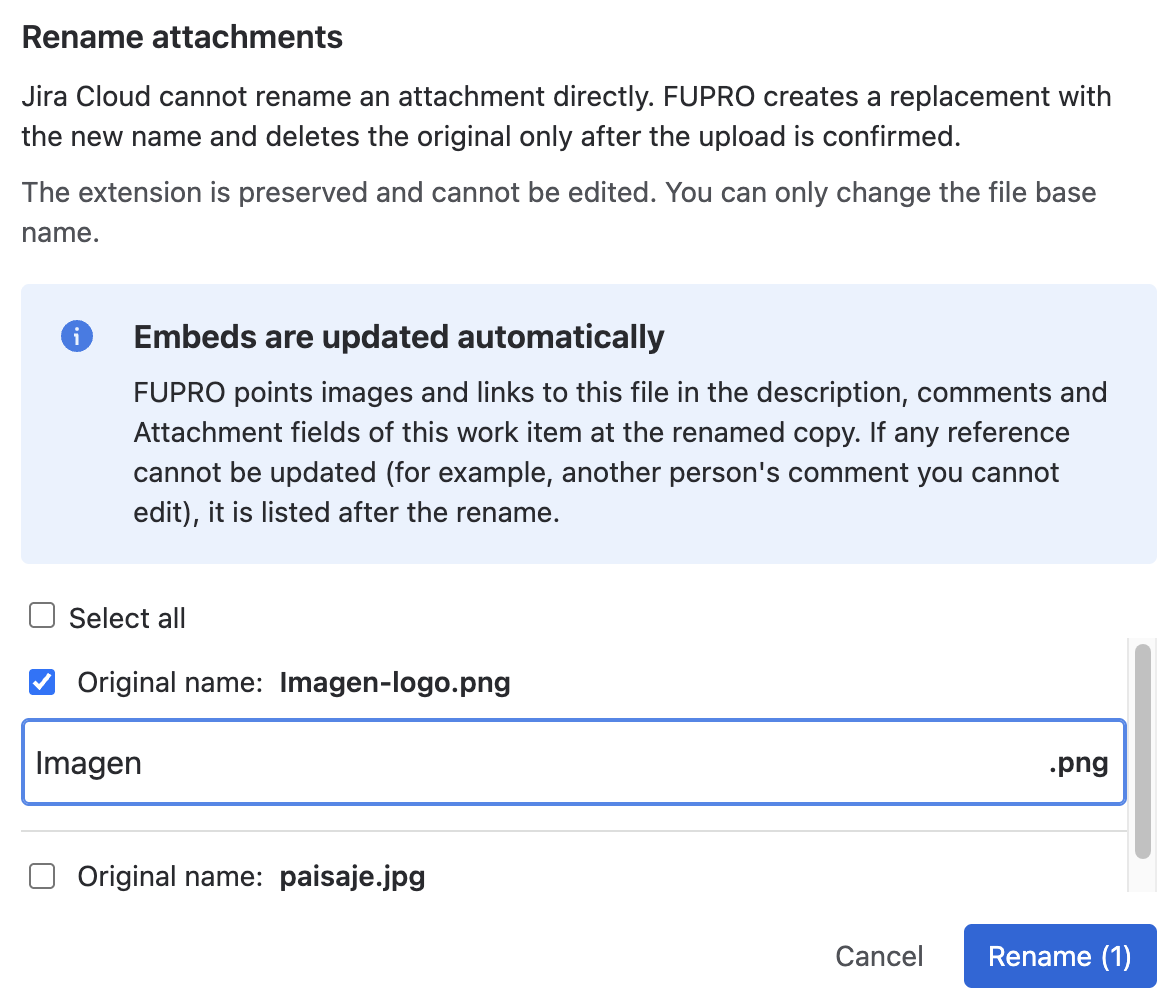
Jira Cloud does not provide a native operation for changing an attachment name. FileUtils Pro therefore uploads a replacement with the new name and deletes the original only after confirming that the upload completed successfully.
Before deleting the original, FileUtils Pro updates the references to the file within the same work item:
- Images and links embedded in the description, in other rich text fields, and in comments point to the new file and keep their preview.
- Links inserted by file name, including wiki syntax, are updated to the new name.
- A restricted comment keeps its visibility.
- The attachment's labels are kept on the renamed file.
- If the work item uses the Admin Essentials attachment field, the reference follows the new file.
File embeds in the same work item are updated to the renamed file automatically. You do not need to insert the image or link again.
If a reference cannot be updated
The rename is not undone. FileUtils Pro shows a persistent yellow warning that indicates the file, where the reference remains (the description, a person's comment, or another field), and the reason:
- You do not have permission to edit that comment.
- Jira rejected the change.
- The new file could not be identified.
In that case, review the work item and update the reference manually.
What is not updated
- Other work items, even if they link to the same file.
- Emails that were already sent.
- The activity stream.
To update an embed in a comment, FileUtils Pro edits that comment. As a result, the comment may appear as edited and the work item's watchers may receive a notification.