How to Merge PDF Files
Merging PDF documents is performed directly from the Jira issue view. The complete process is detailed below.
1. Accessing the Merge Tool
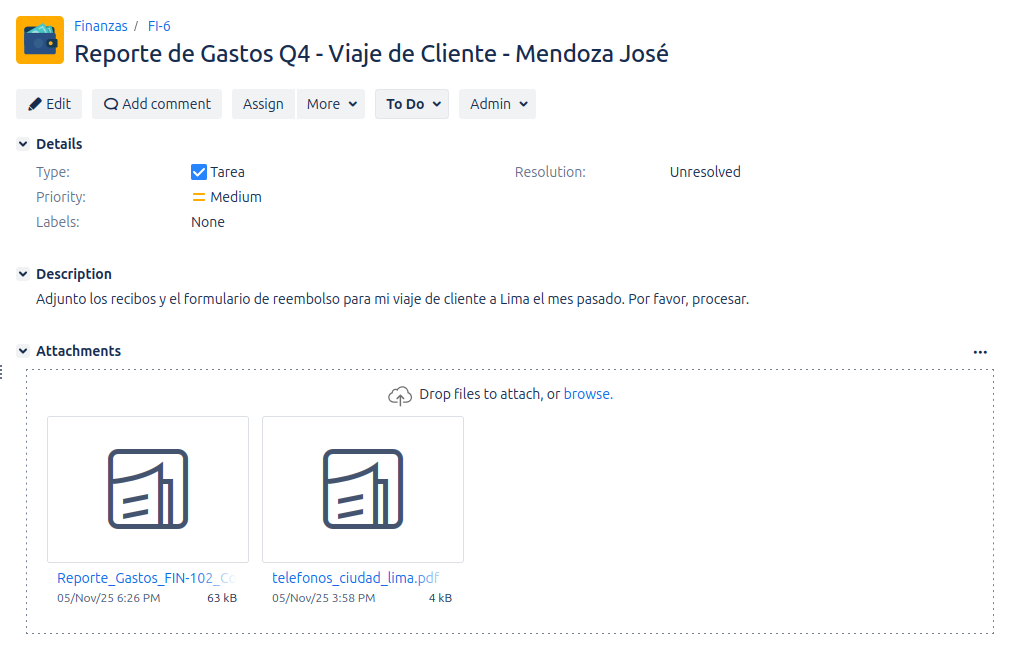
To get started, navigate to the issue containing the .pdf files you want to merge.
- Click the More menu (the button with the three dots
...) located at the top of the issue view. - Select the Merge pdfs option from the dropdown menu.

2. Using the Merge Modal
Clicking "Merge pdfs" will open a modal that allows you to configure the merge operation.
Inside this modal, you can perform the following actions:
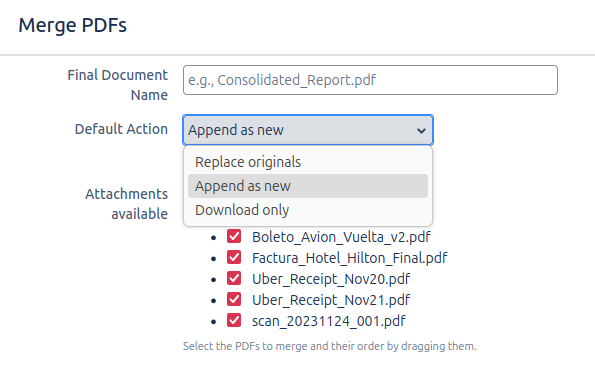
- Name the Final File: In the Final Document Name field, enter the name you want for the resulting PDF document. By default, "merged.pdf" is suggested.
- Select Files: The modal lists all attachments with a
.pdfextension found in the issue.- Use the checkboxes to the left of each file to include it or exclude it from the merge.
- You must select at least two files to enable the merge button.
- Order the Files: The order in which the files appear in the list determines the order in which they will be combined in the final PDF. To change the order, simply click and drag a file to the desired position.

-
Overriding the Default Merge Action (New!): Jira PDF Merger DC 1.1.0 offers you full control over how the merged PDF is managed. Although an administrator may have configured a global default action, you can override this setting for each merge operation. Before clicking "Merge," you will see an option to choose the desired action:
- Reemplazar originales (Replace originals): The PDFs selected for merging are replaced by the new merged PDF. The original PDFs are deleted.
- Adjuntar como nuevo (Attach as new): The merged PDF is added as a new attachment to the issue, while preserving the original PDFs.
- Solo descargar (Download only): The merged PDF is generated and offered for download, without automatically attaching it to the issue or modifying existing attachments.
Select the option that best suits your needs for the current merge.
- Dynamic PDF Preview (New!): Starting with version 1.1.0, a real-time preview panel has been incorporated within the merge modal. While you select and reorder the PDF files, you can instantly see what the merged document will look like. This significantly improves the experience, allowing you to verify the result before confirming the merge and preventing errors. The preview panel will automatically update as you make changes to the selection or order of the PDFs.

3. Initiate the Merge
Once you have named the file, selected, and ordered the PDFs, click the Merge button.
Permission Considerations
For the PDF merge to be performed correctly, the user must have the appropriate permissions in the Jira project to add attachments (for the merged PDF) and delete attachments (for the original PDFs).
If a user tries to merge PDFs without the permission to delete attachments, the operation will not complete, and an informative error message will be displayed:
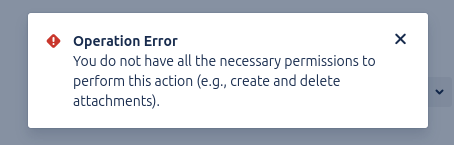
Ensure you have the necessary permissions for both actions if you want to use the full functionality of the add-on.
4. Merge Result
After a few seconds, the process will finish, and the following changes will occur in the issue:
- Success Message: A notification will appear at the top of the screen confirming that the merge was successful.
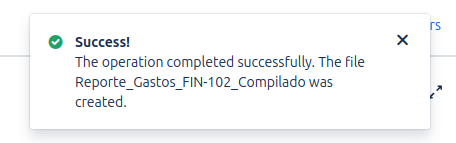
- New File: The newly created PDF (with the name you assigned) will be downloaded to your browser, replaced, or added to the Attachments section of the issue depending on the action selected in the merge.
And that's it! You have successfully merged several documents into one without leaving Jira.