Live Chat Tray
The agent tray appears in the sidebar of a JSM project when you are authorized to handle chats in that portal. From there, you can find, assign, reply to, and resolve the conversations available to you.
Accessing the tray
- Navigate to a Jira Service Management project.
- In the project sidebar, locate the Live Chat section.
- Click Live Chat to open the tray.
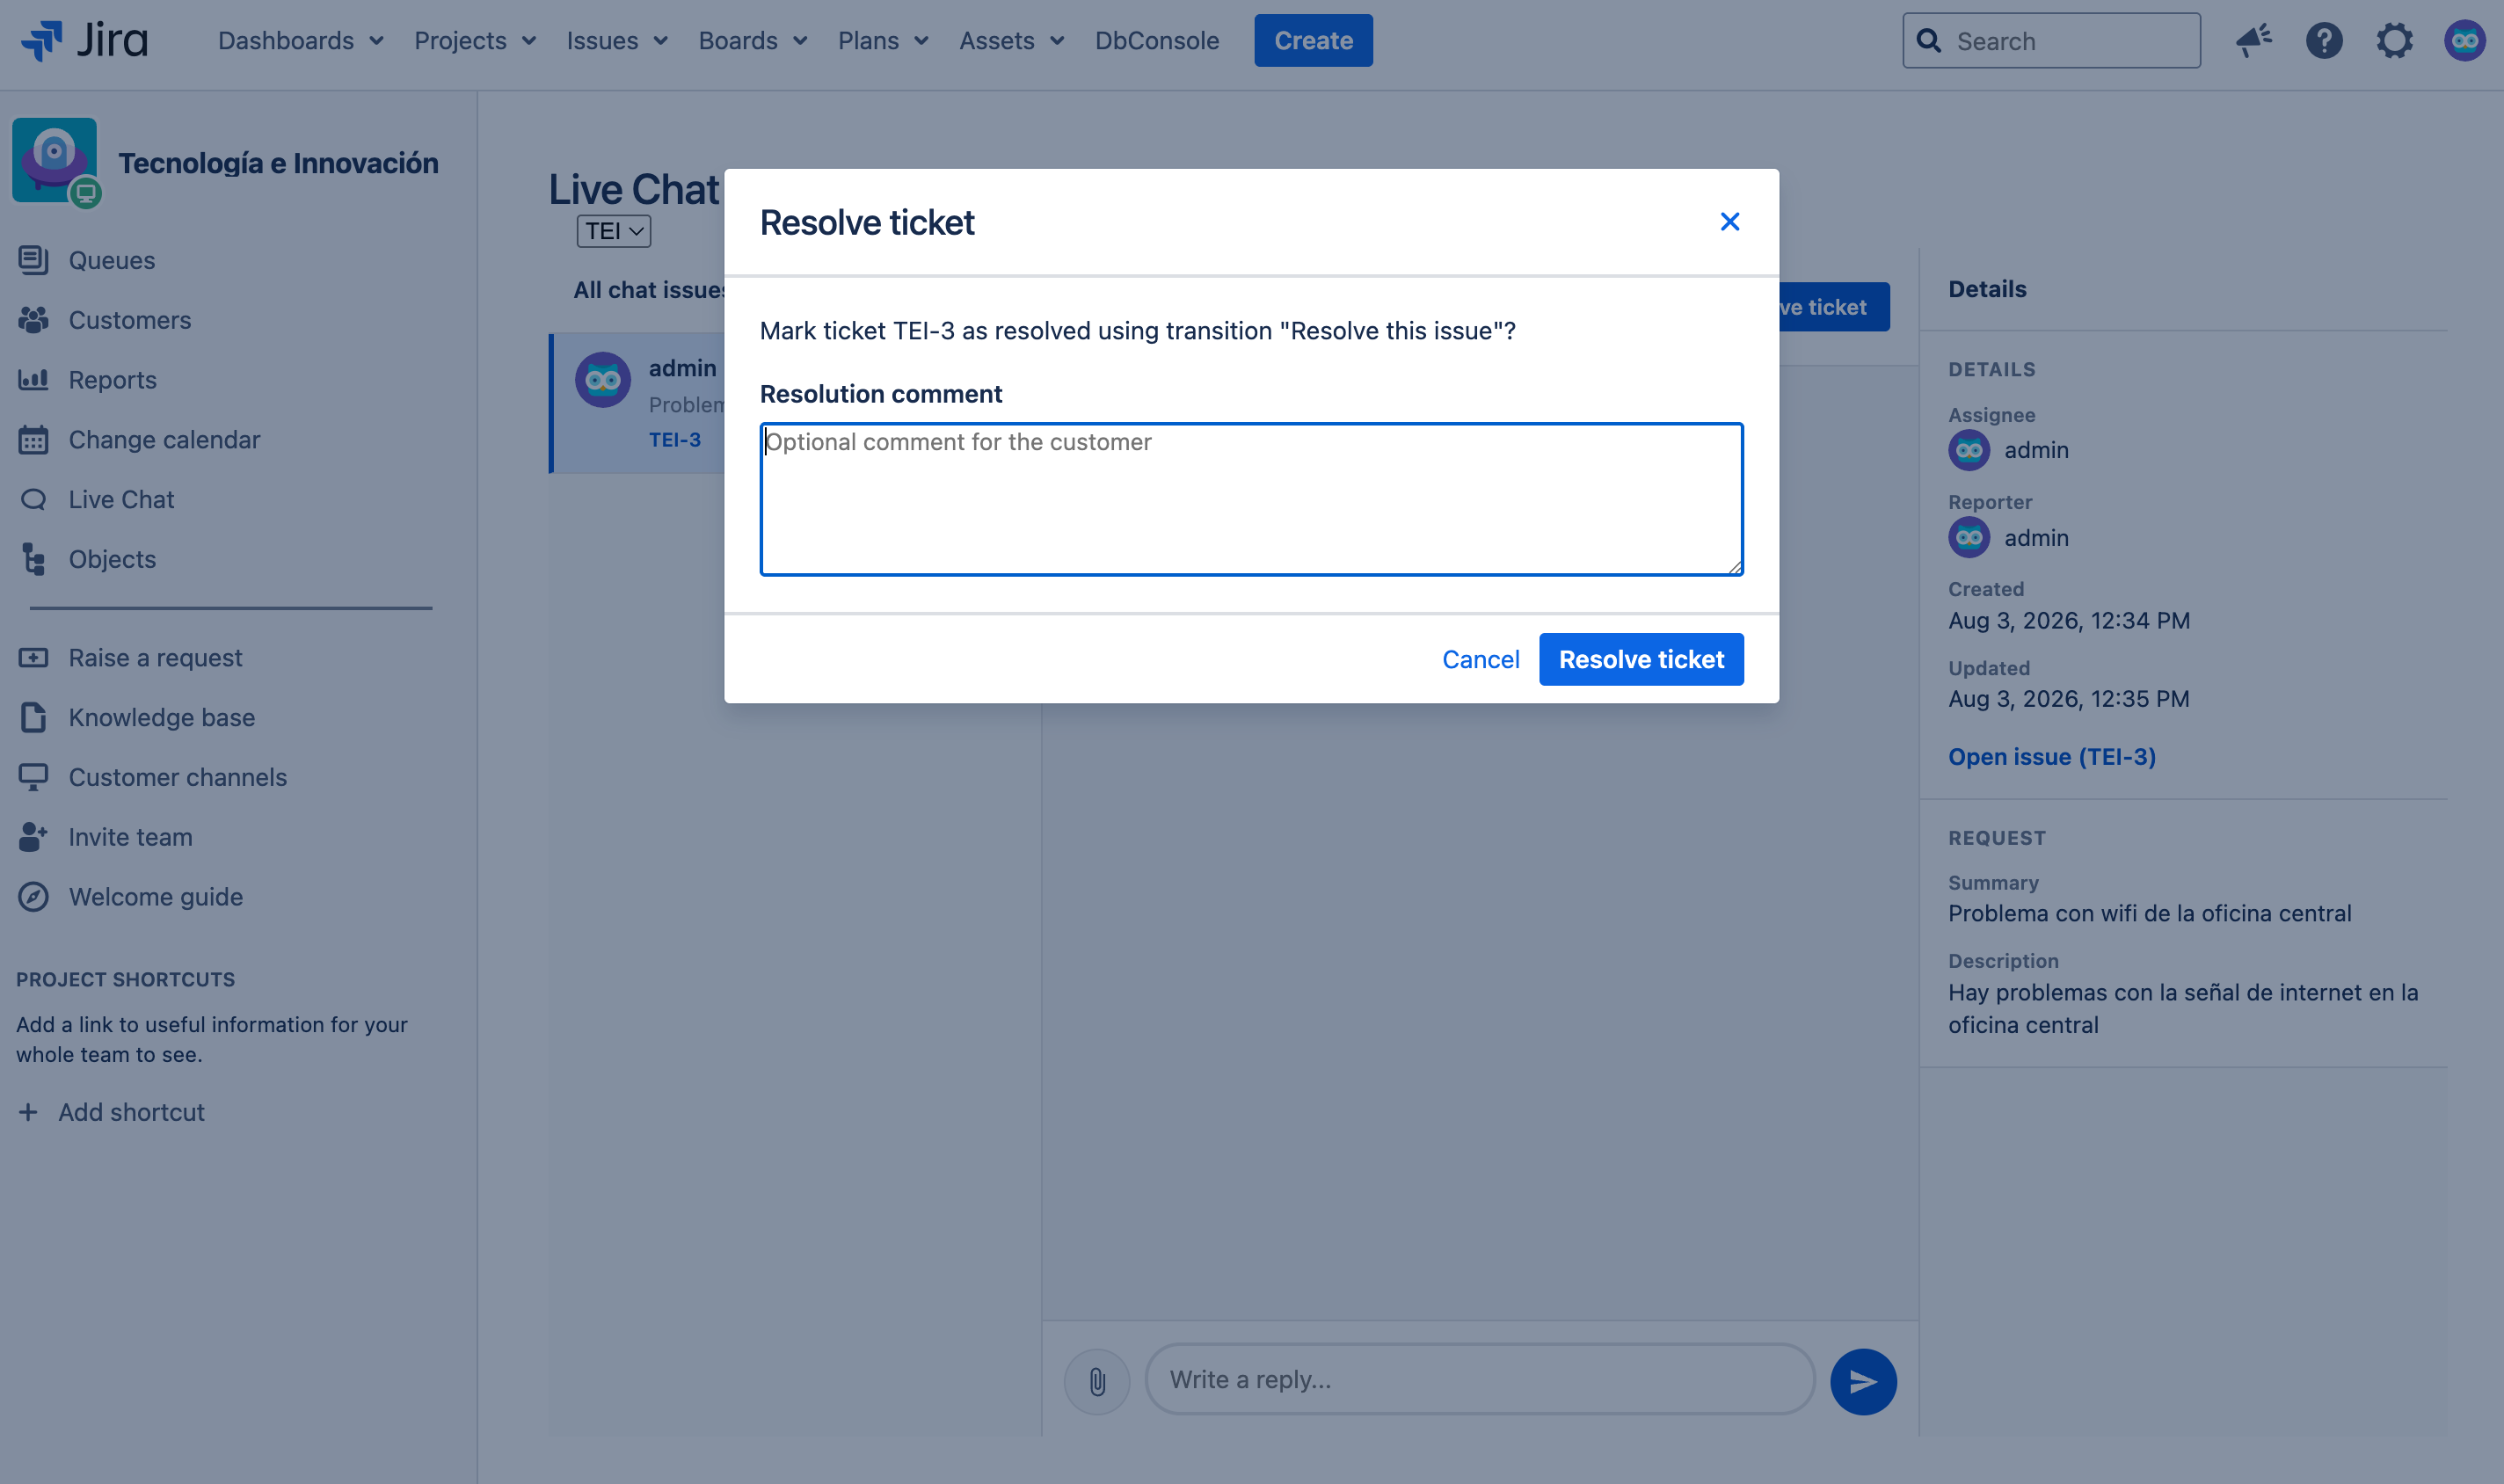
If the portal is not enabled or you are not authorized, Live Chat will not appear in the sidebar. If you open the tray by URL, you will see a message indicating that you do not have access or that the portal is not configured.
Conversation queues
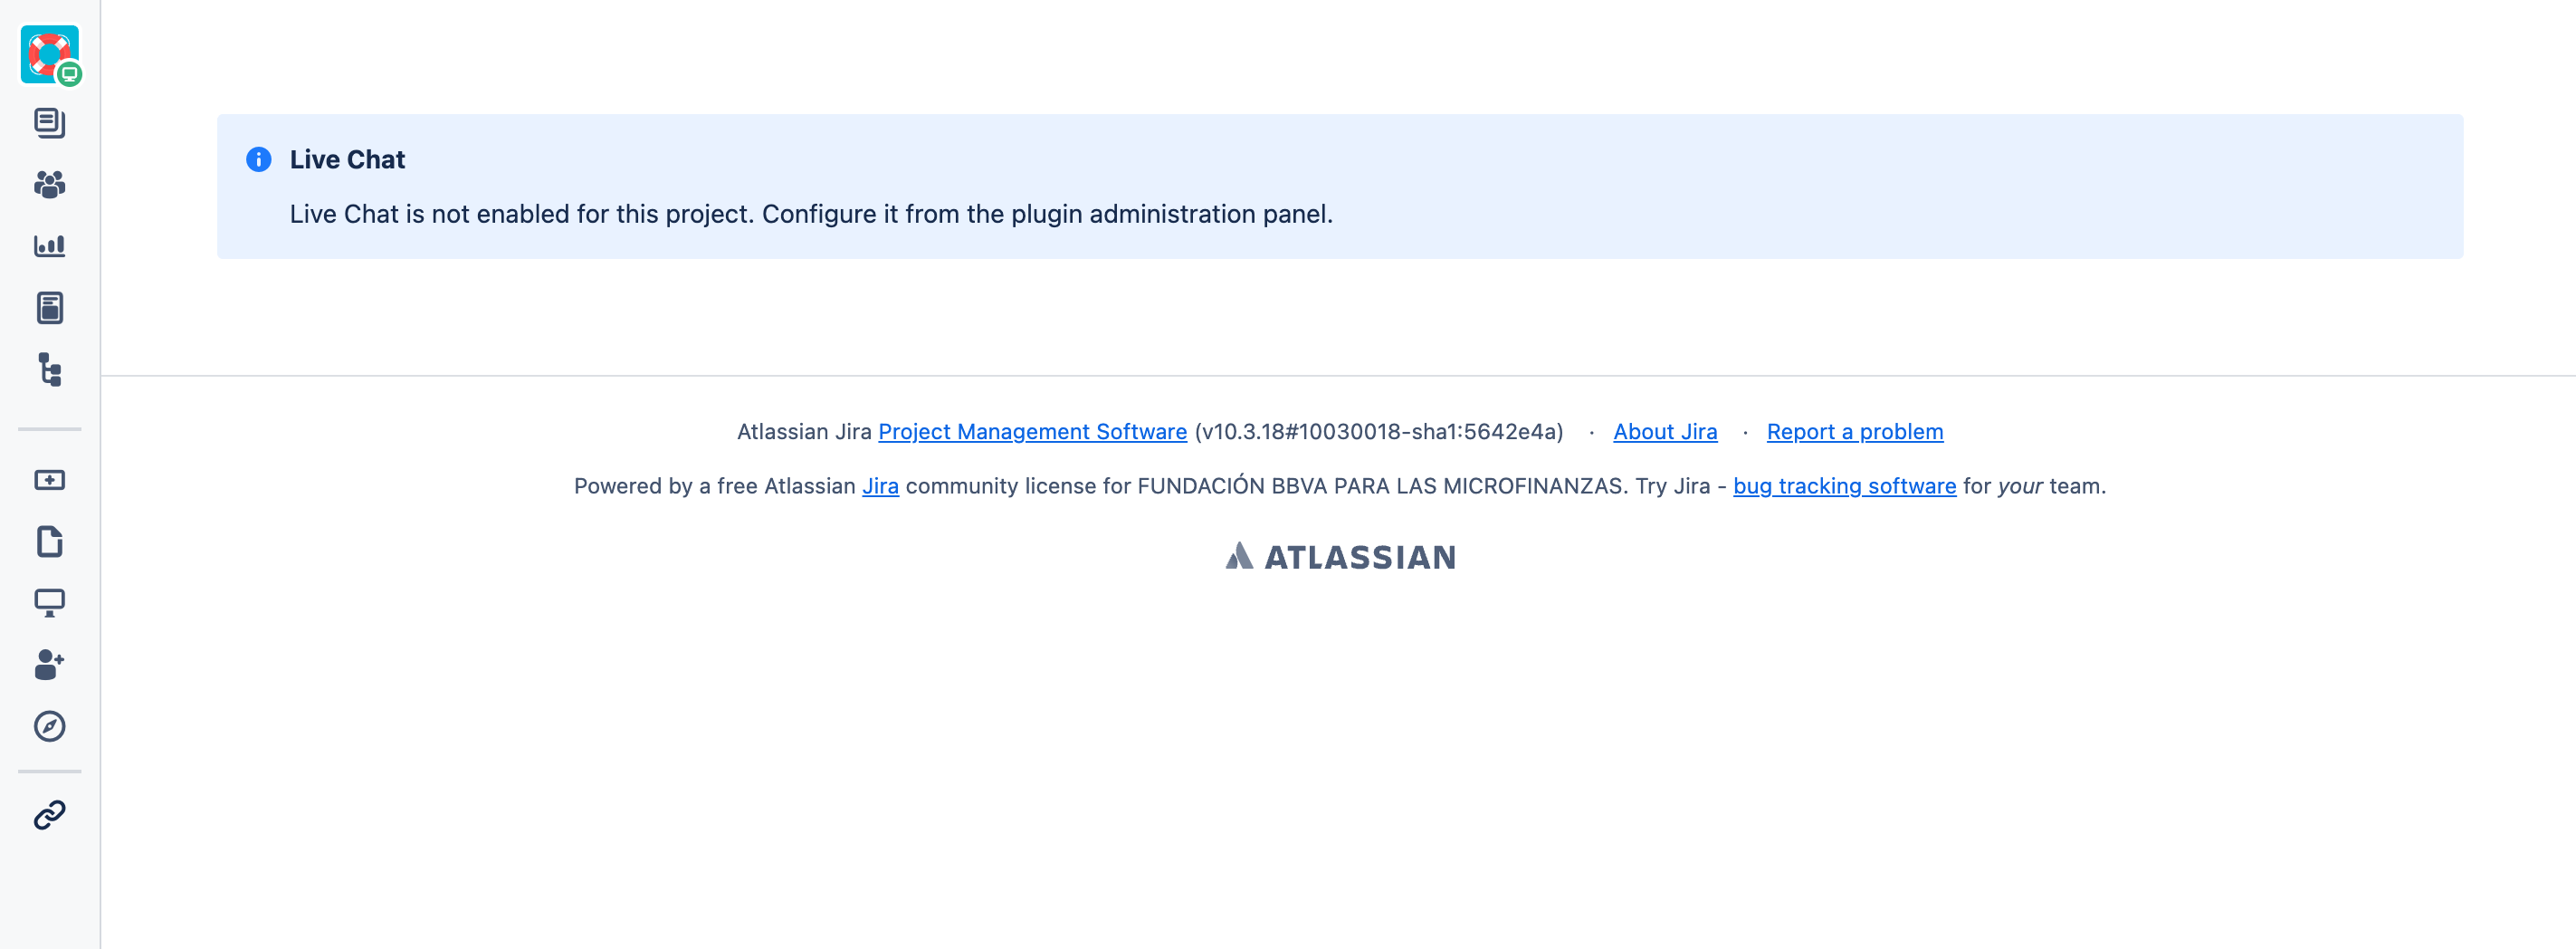
The tray has four queues. Select the tab that matches what you need to work on:
Unassigned
Shows open chats that do not yet have an assigned agent. This is the recommended queue for taking new conversations.
My chats
Shows open chats assigned to you. Use it to continue conversations that you are already handling.
All assigned
Shows open chats assigned to any agent, including your own chats. Use it to review work that is already being handled by the team.
Closed chats
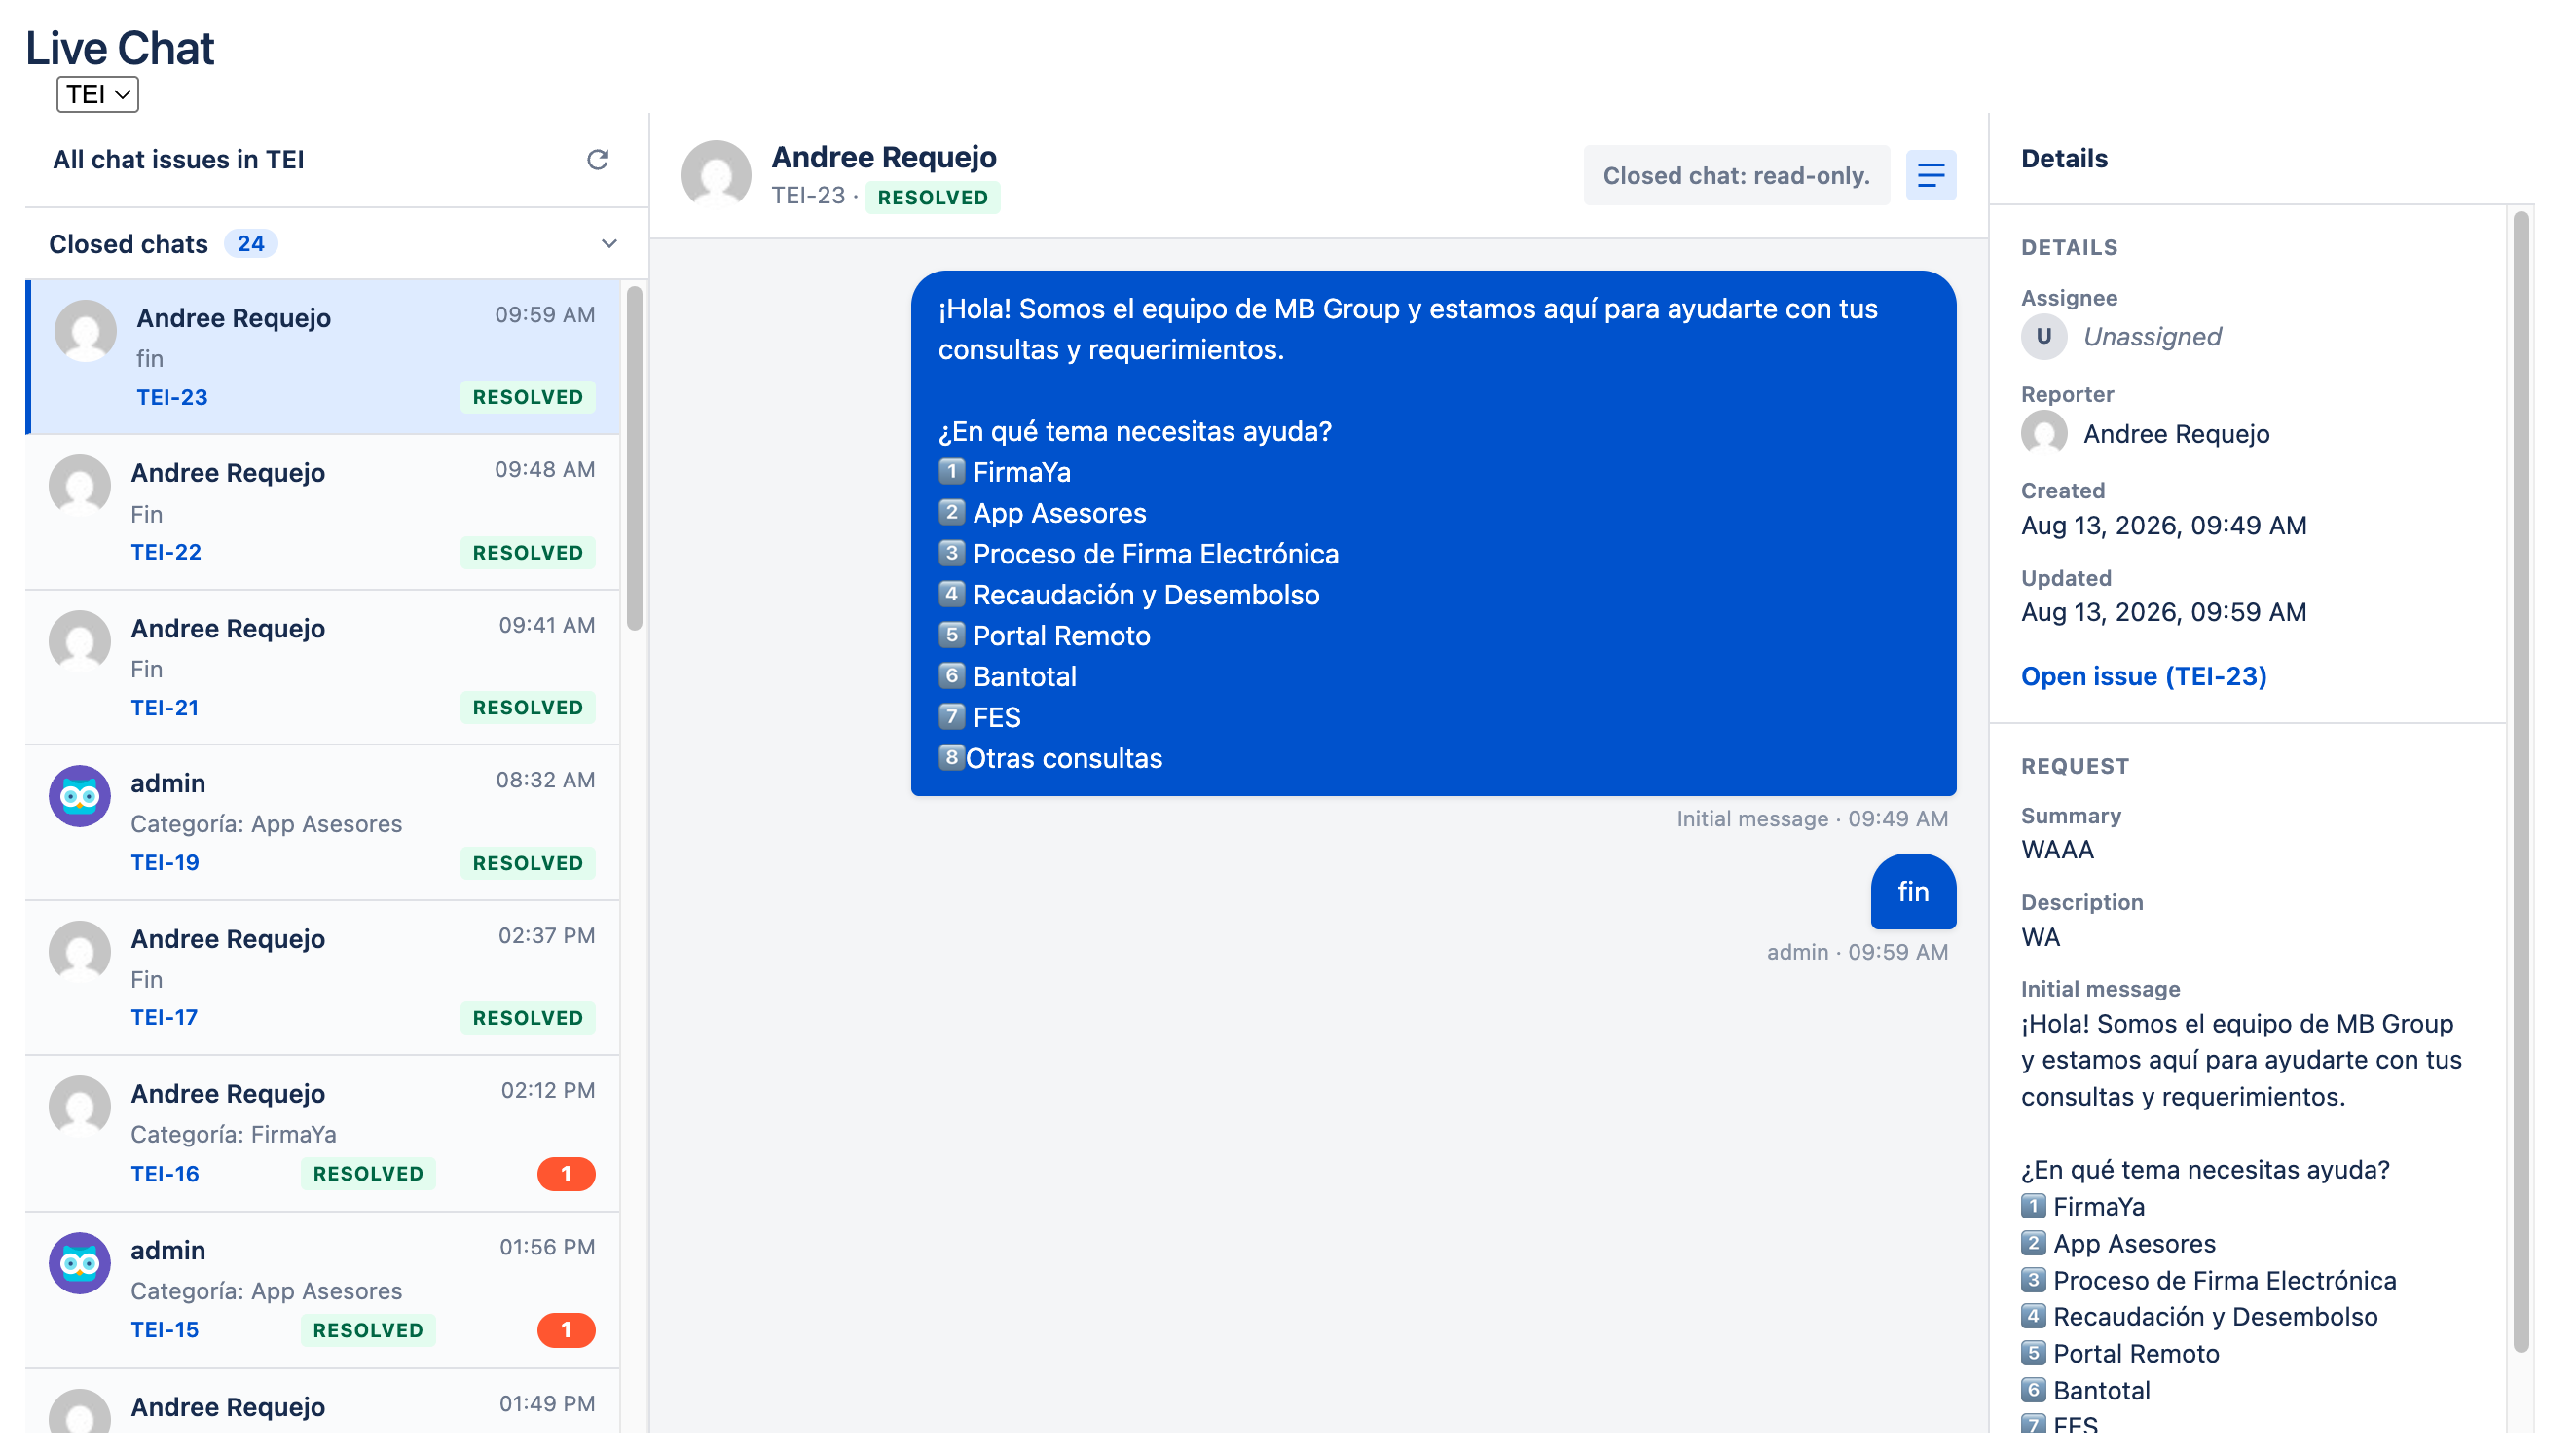
Shows conversations that have ended according to the portal's settings. This is a read-only queue: you can review the history, requester, assignee, form data, and request link, but you cannot send messages, assign the conversation, or resolve it again.
The queues show clear empty states when they contain no conversations. The filters do not change the history; they only change which conversations you see in the tray.
Unassigned chat alert
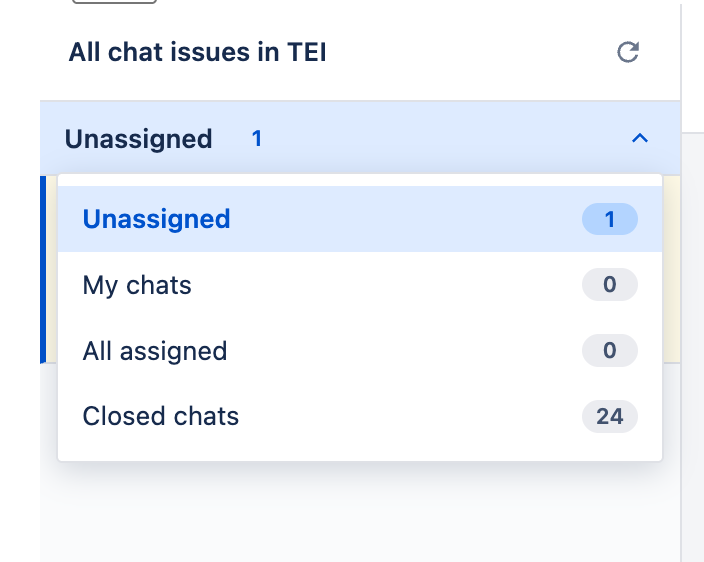
When there are one or more unassigned chats in the Unassigned queue, the tray displays a red alert with the number of pending conversations. The alert updates automatically with the configured polling, without requiring a page reload.
Clicking the alert focuses the Unassigned queue so you can address the pending conversations. When there are no unassigned chats, the alert disappears.
Working with a conversation
The tray is organized into three columns:
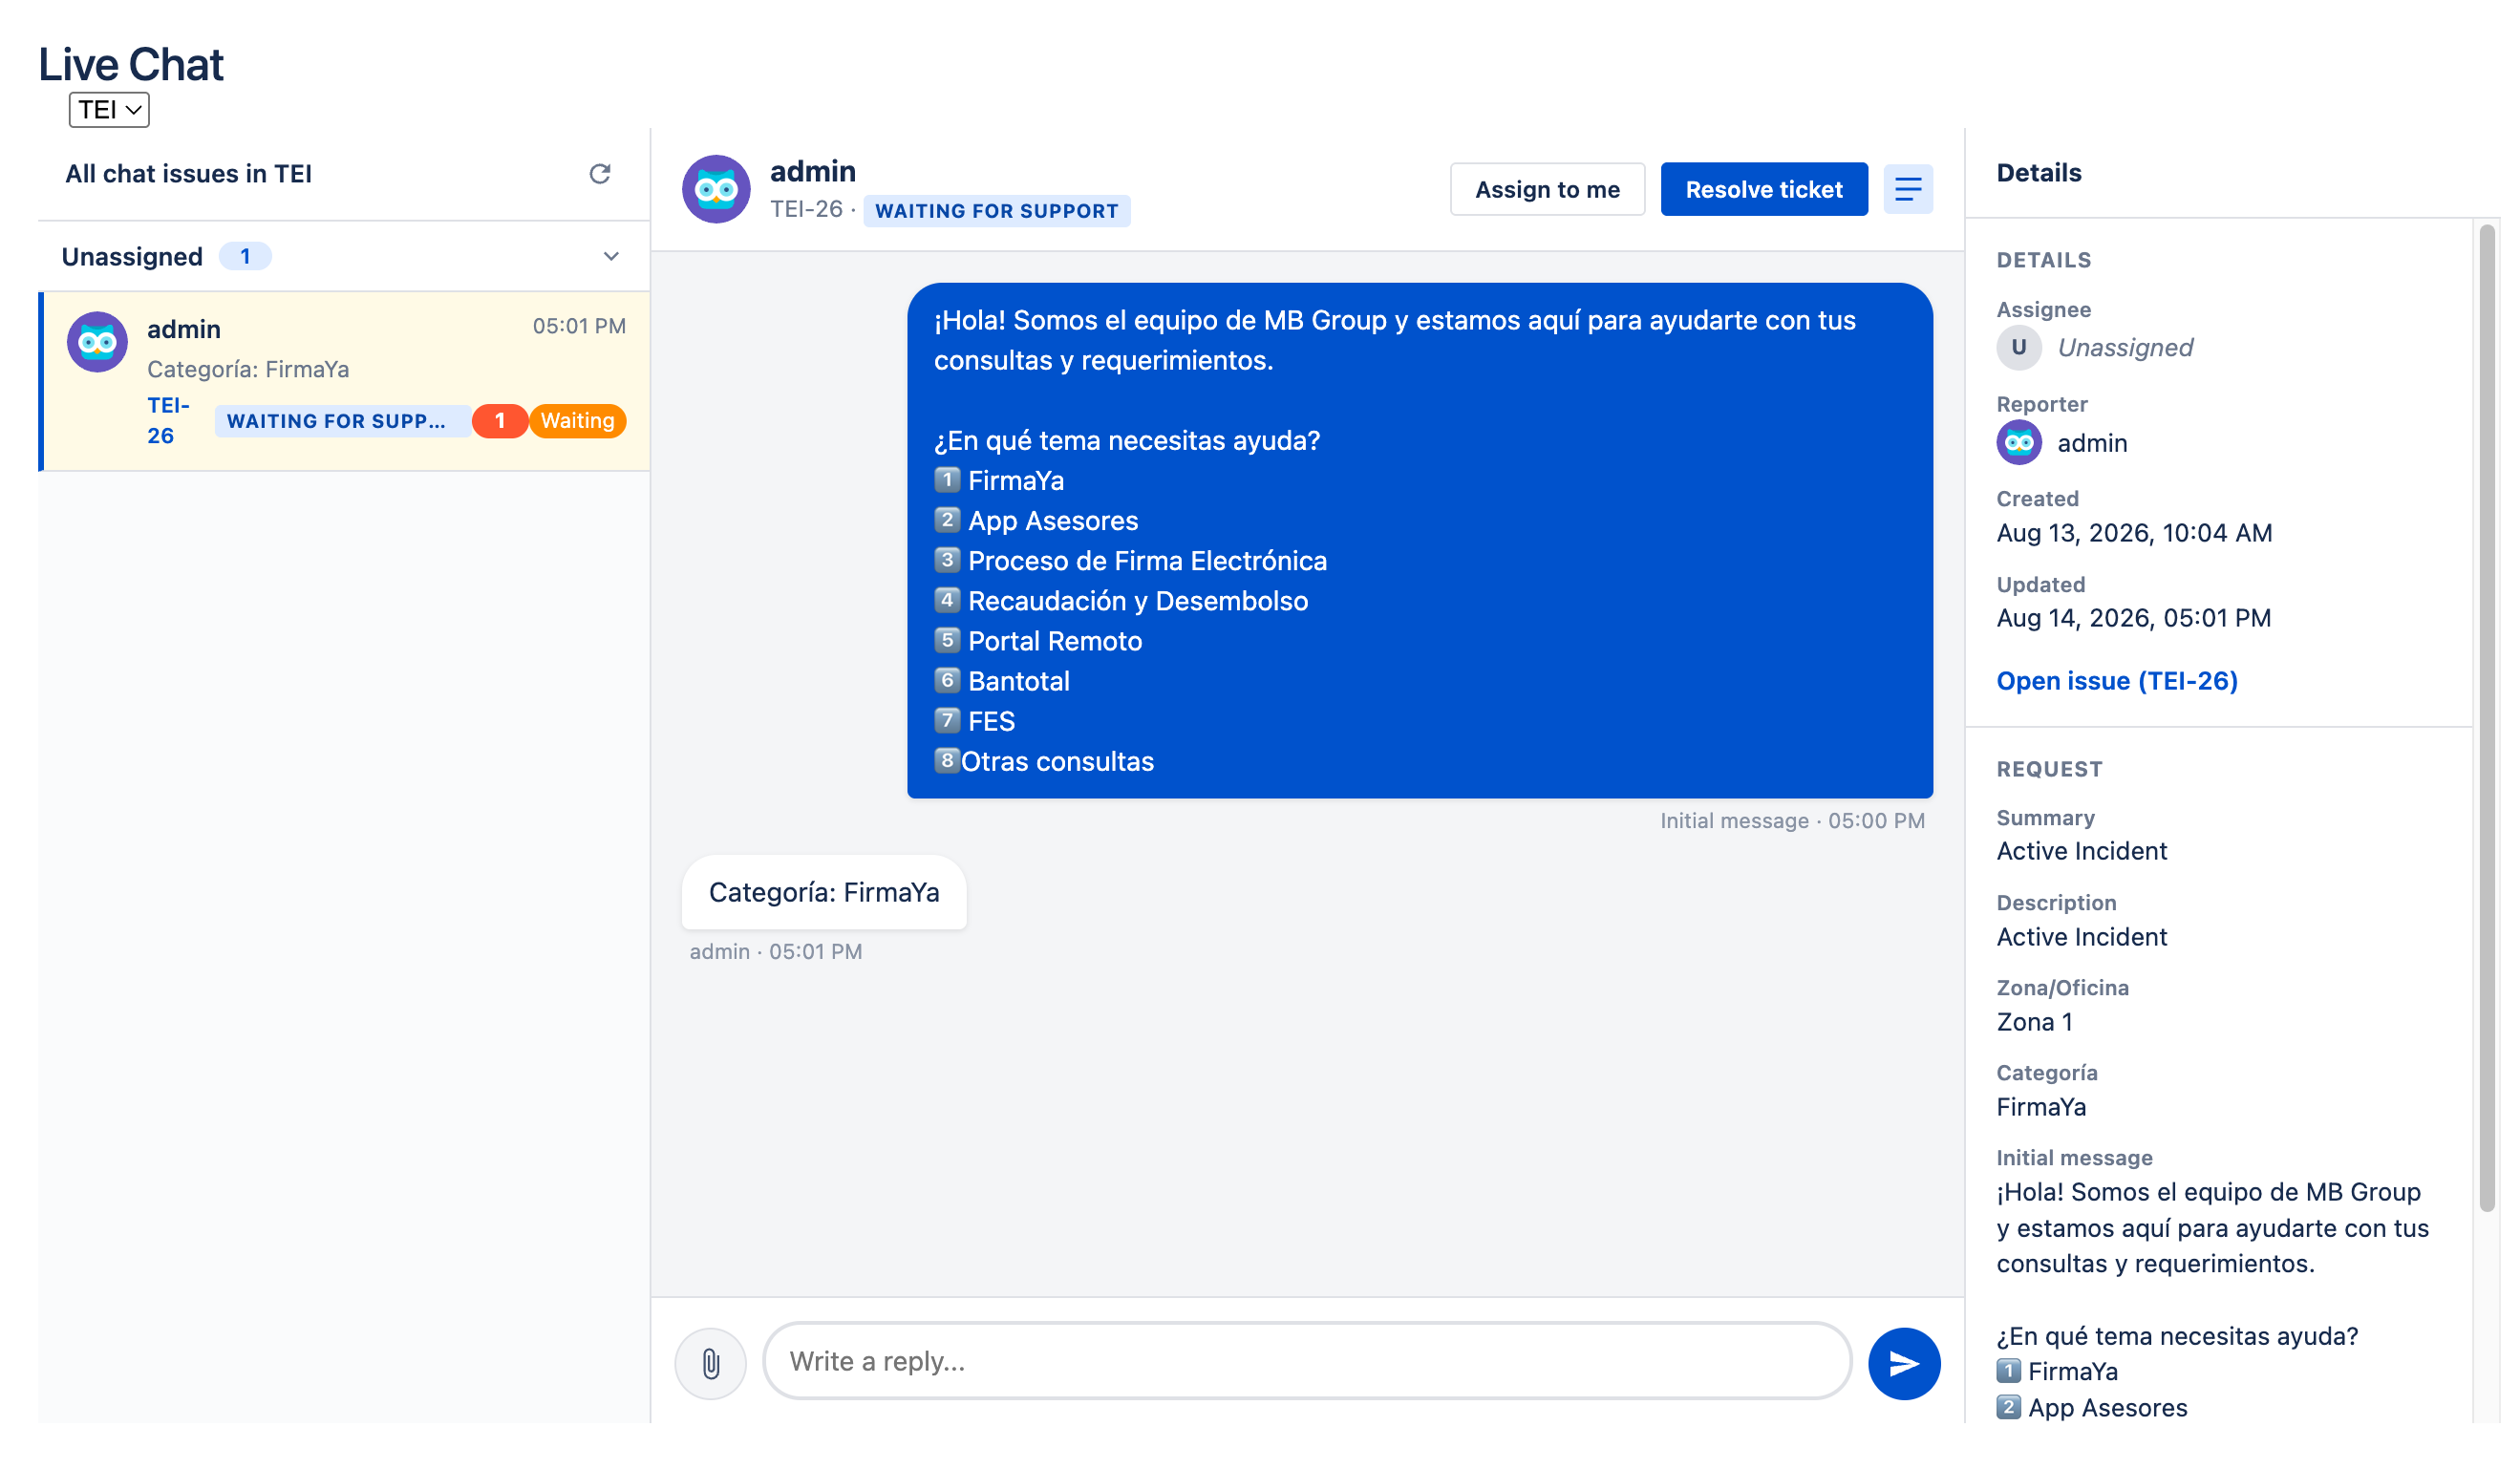
Column 1: Conversations
Shows the project's conversations in the selected queue. You can see the customer, summary, and time since the last message. Click a conversation to open it.
Column 2: Conversation
Shows the message history for the selected session.
- Attachments: You can send one or more files. Images are previewed at full size in the thread (no cropping) and open in a lightbox on click; PDFs are readable inline; videos play with HTML5 controls. Other files display a chip with name and download link. If a file cannot be previewed, the download chip is shown.
- Reply field: Type a message and click Send or press Enter.
- Assign to me: Assigns the request to your user without sending a reply.
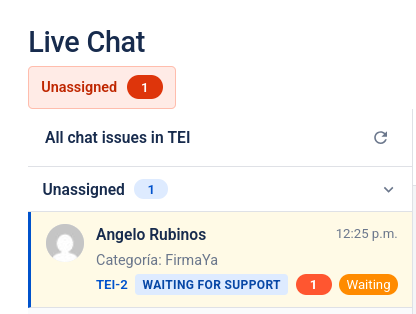
- Resolve: Opens the dialog to close the request and chat session.
Column 3: Request details
Shows the summary, description, requester, and creation date of the linked JSM request. It also shows the additional information submitted in the initial form and the option selected in the initial message, when configured. For a cascading list, the details display both the primary and the related value (for example Region / Office).
In a Closed chats conversation, this information is available for review and the reply, assign, and resolve actions are not available.
Automatic assignment
When you reply to a chat from Jira, the request is automatically assigned to you. If you resolve the conversation, it is also assigned to you before it closes. As a result, a conversation can move from Unassigned to My chats after you reply or resolve it.
A reply sent by the customer from the portal does not assign the conversation to the customer. If Jira cannot update the assignment, the comment or resolution is completed anyway.
Resolving a conversation
When the customer's issue has been resolved:
- From the conversation column, click Resolve.
- Add a comment if Jira asks for one.
- Choose a resolution when that option appears and confirm.
- The request closes using an available workflow option.
- The customer sees a message indicating that the chat has been closed and, if the project allows it, can complete the JSM satisfaction survey.
If a problem occurs while closing the request, Jira displays the reason so you can correct it.